 OR
OR


 My Class B1, folding circular papers
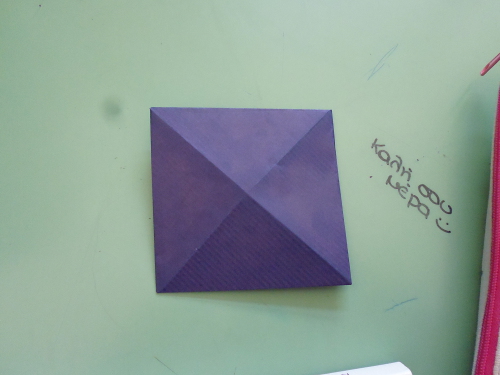 The other side of the square
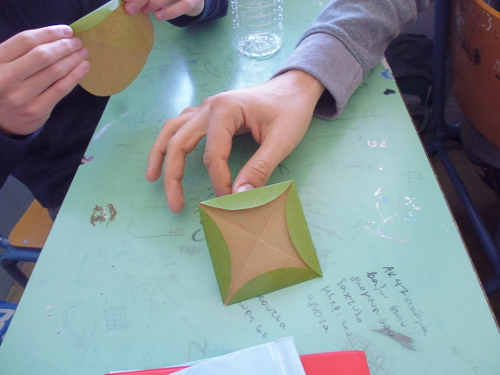 Some more squares
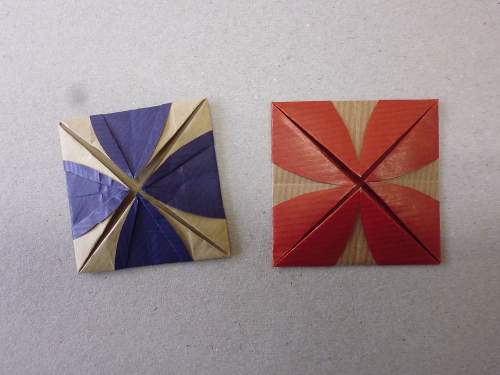 But the octagon gives fancy squares.
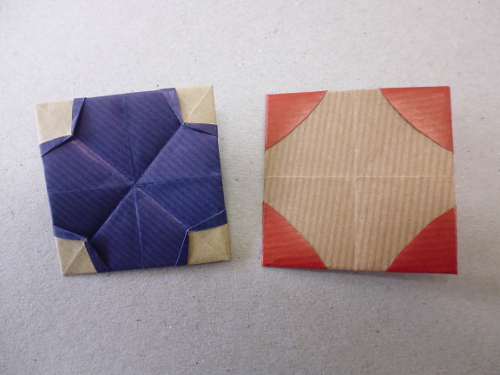 ...and back
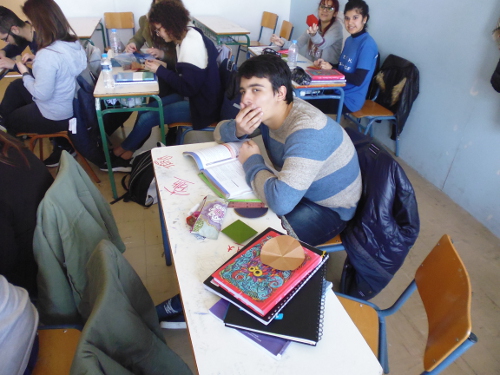 Let's give more thought to the hexagon!
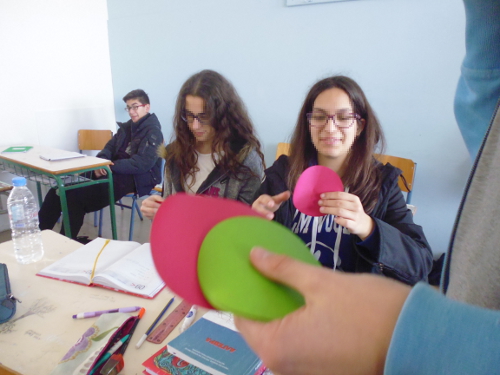 We need more circular papers
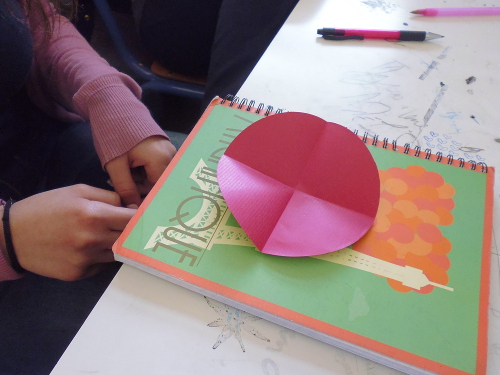 Eureka!
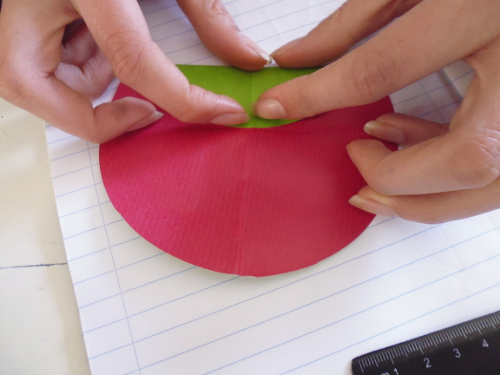 Bring the endpoints of one diameter to the center
 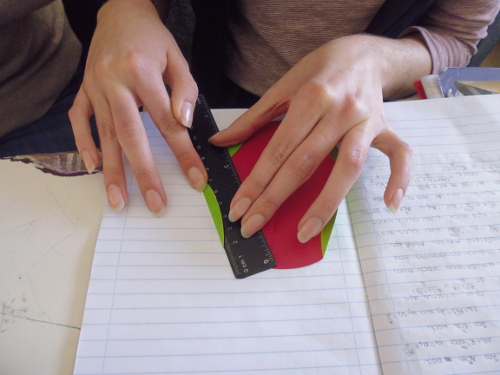 Fold the six cords for the hexagon
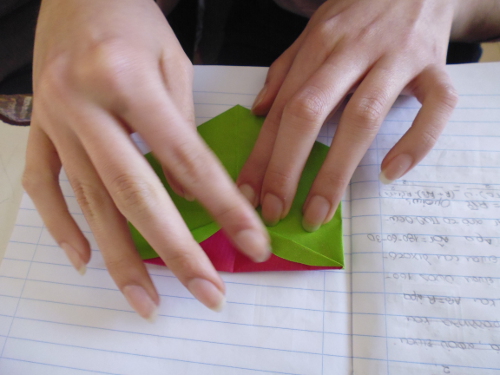 Turn over and fold the sides of the equilateral tringle.
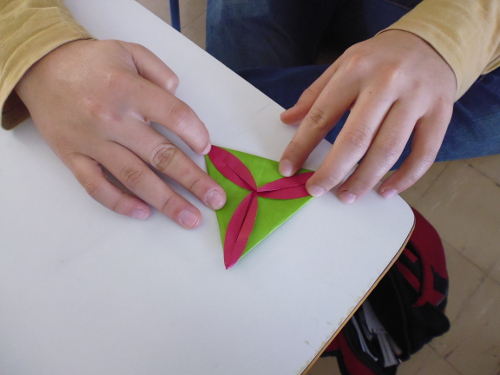 And the tile is ready!
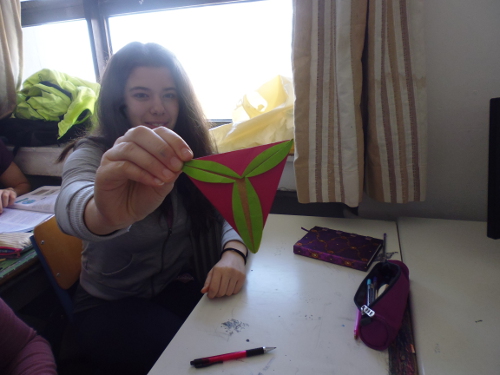 Here is another one!
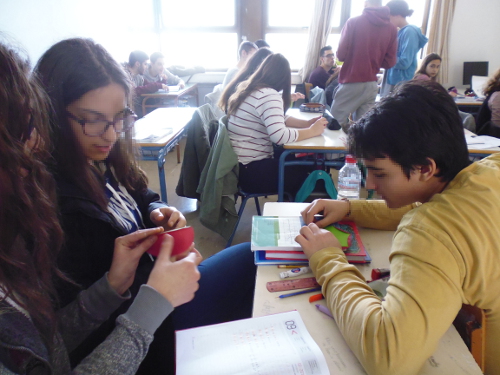 Let's all construct some tiles for the mosaic.
 We've got pretty many now!
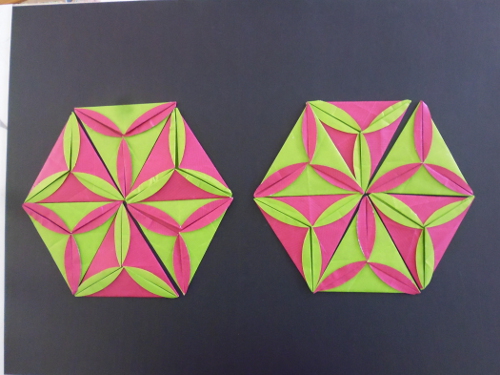 This mosaic looks nice.
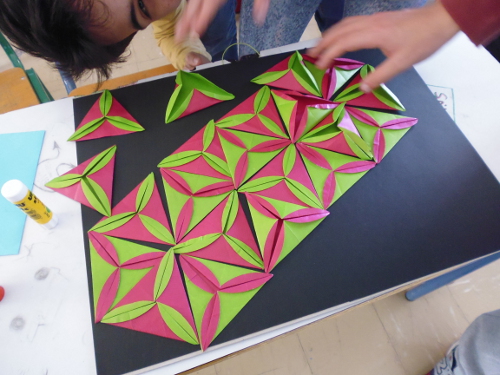 But there are more tiles
 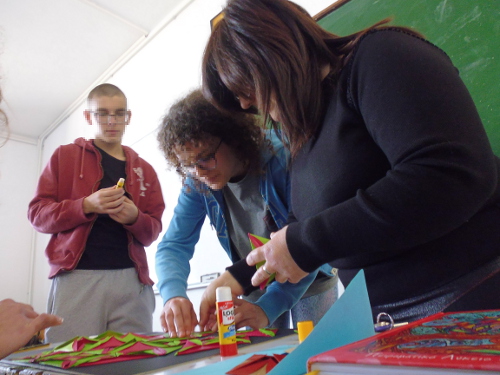 Time to glue the tiles.
 Very carefully to arrange them all.
 Look! A perfect mosaic!
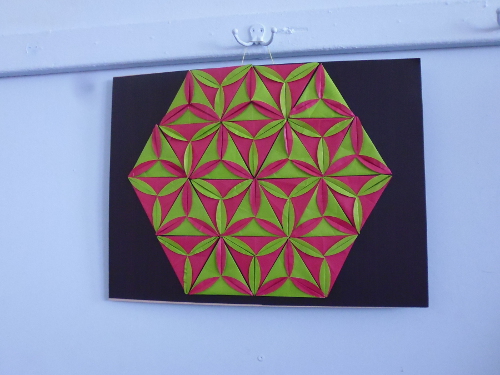 Hang it on the hanger.
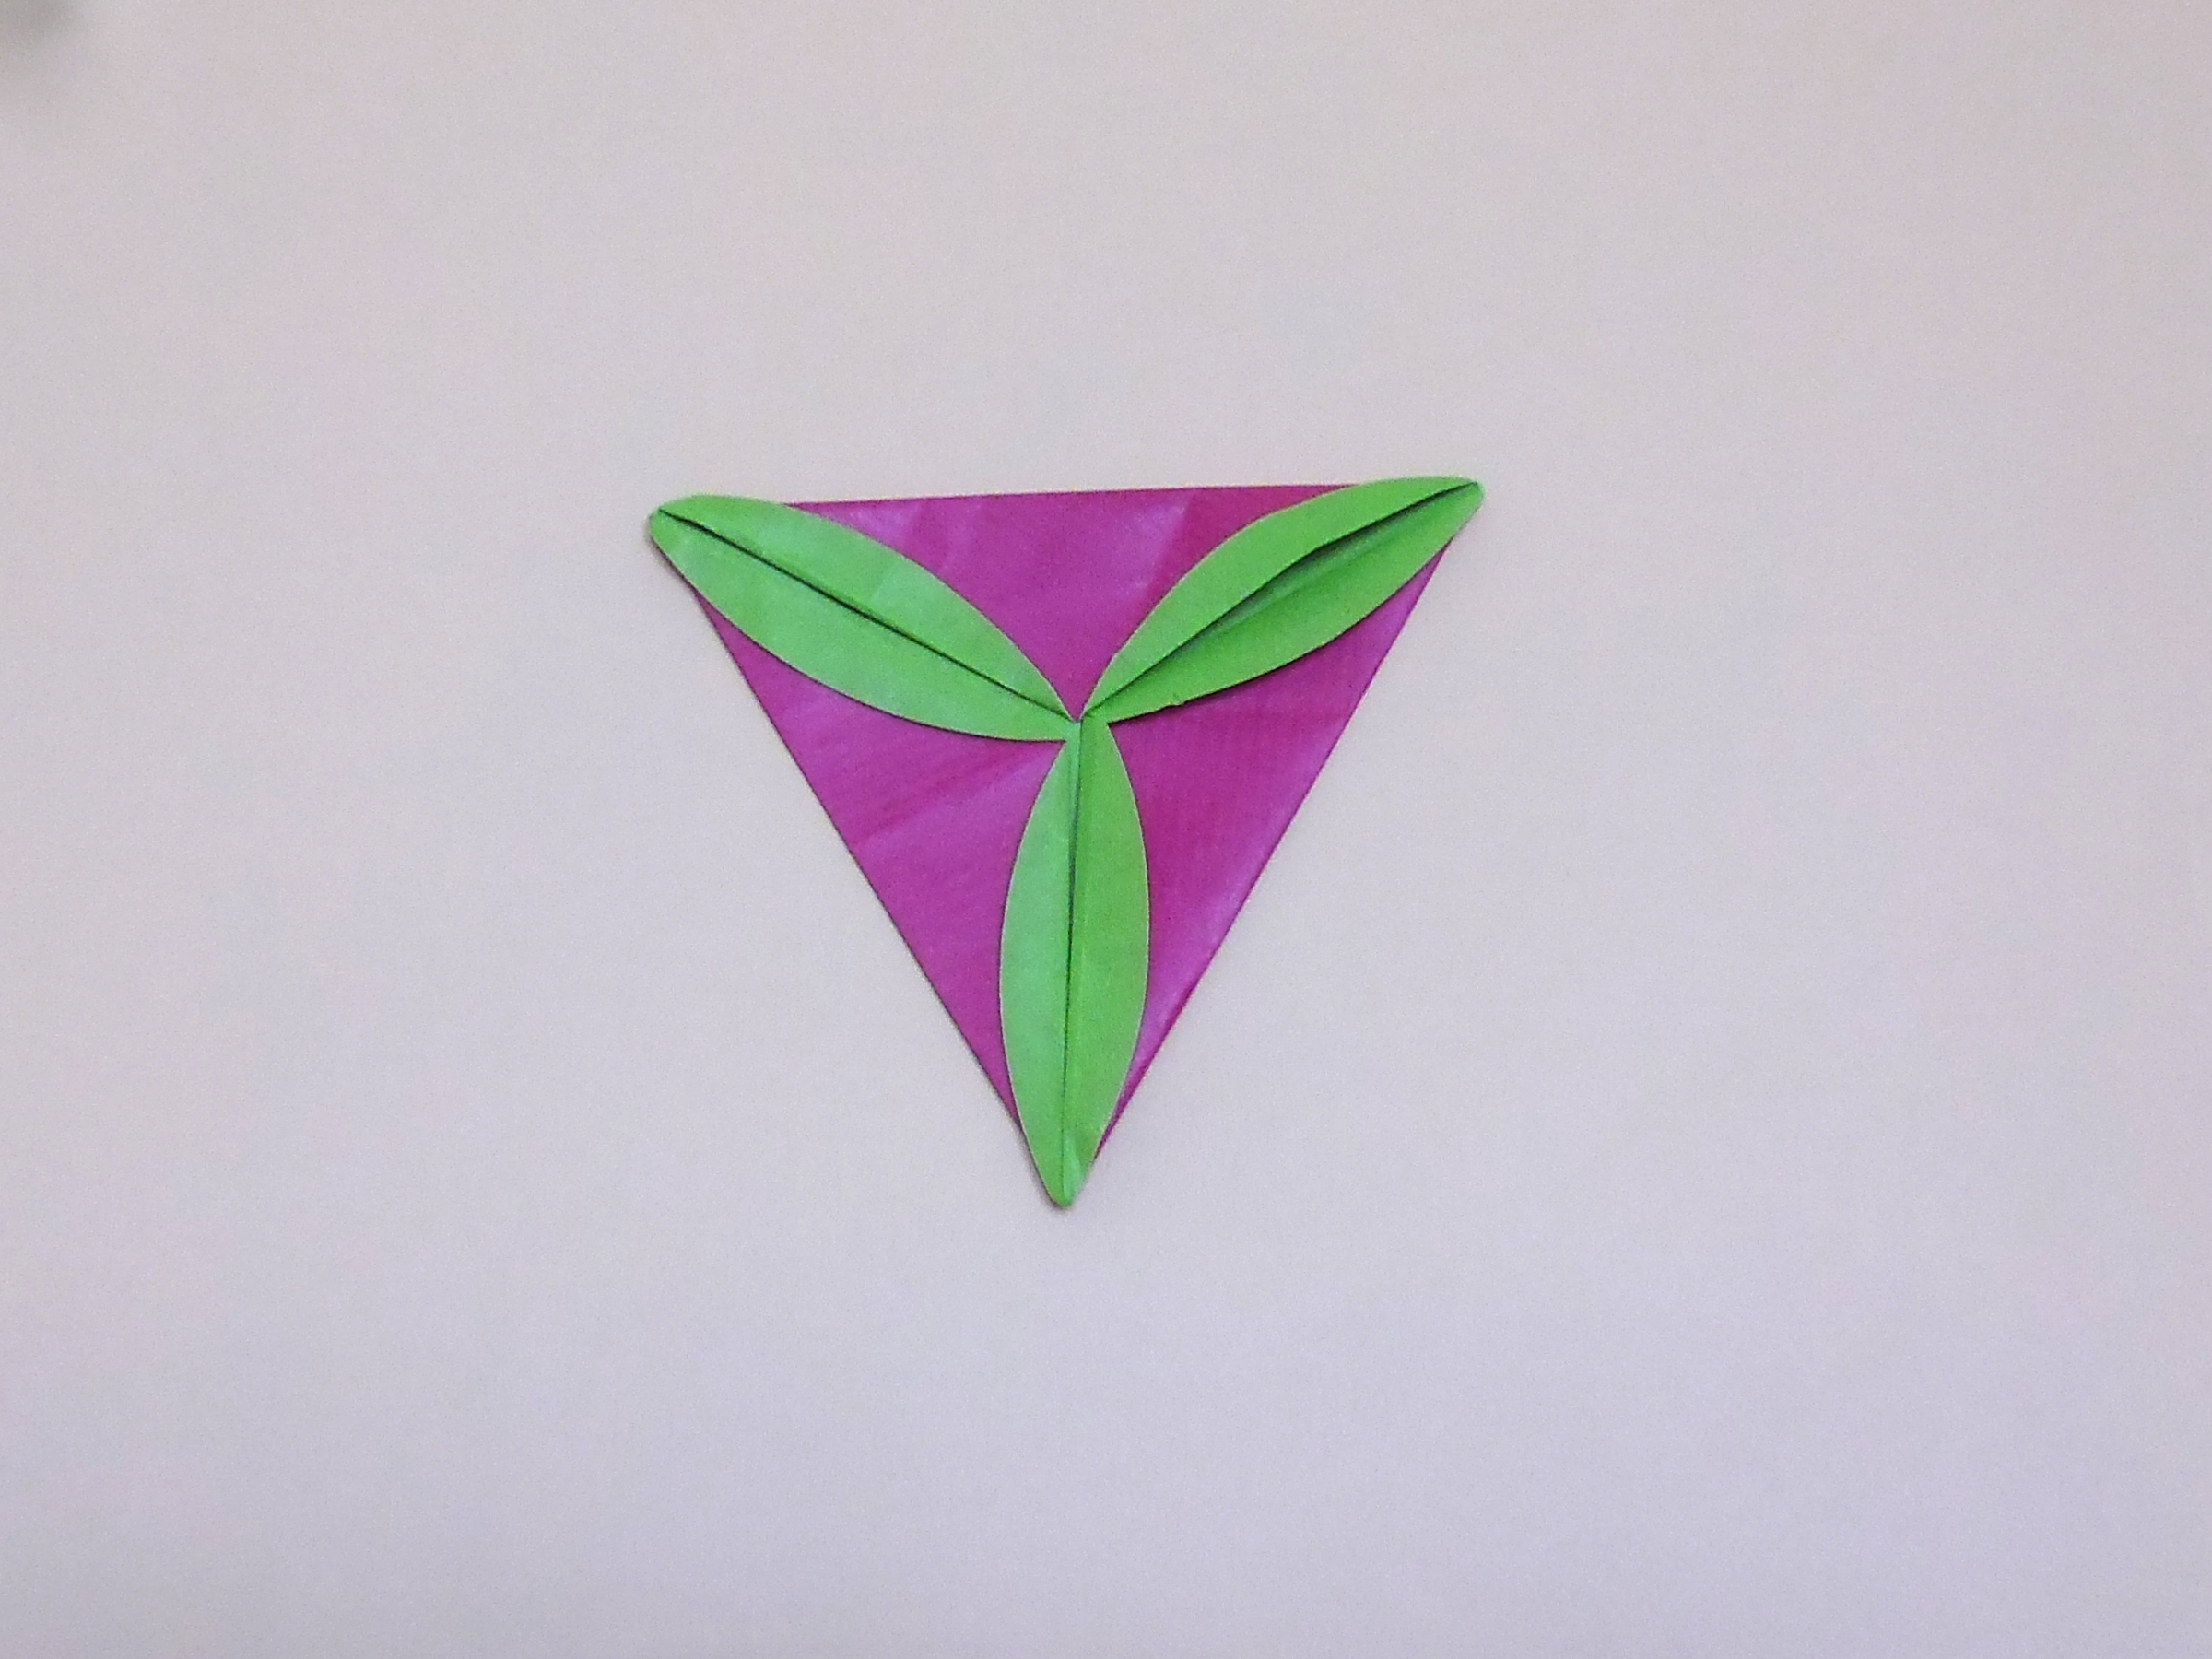 The extra tiles will go on the walls...
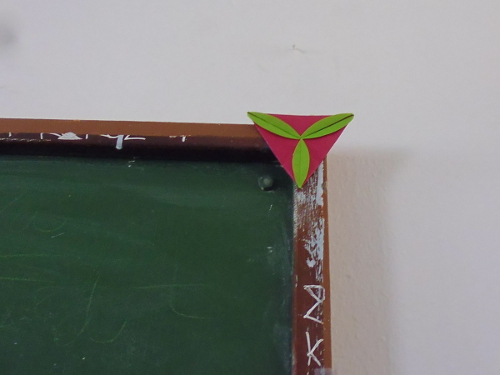 ...or on the blackbourd, for decoration.
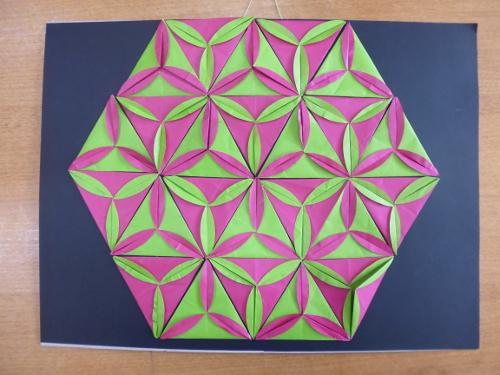 The mosaic
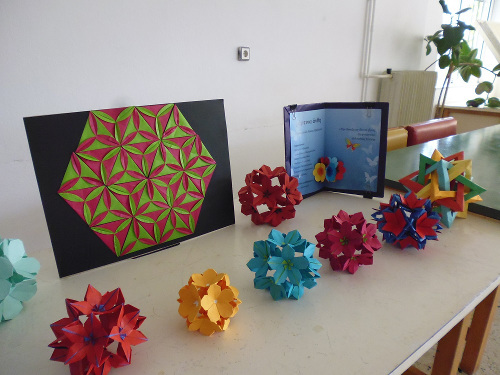 with flower balls in an exhibition
In B Class Geometry students learn about regular polygons and how to inscribe them in a circle. The idea is that once the circle is divided into “n” equal arcs, then, the corresponding chords form a regular n-gon (figure 1). The construction is not always possible with compass and ruler.
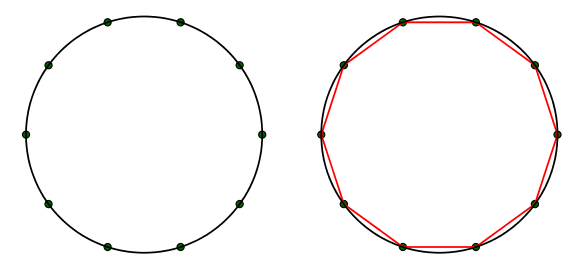
Figure 1: General method for inscribing a regular polygon in a circle.
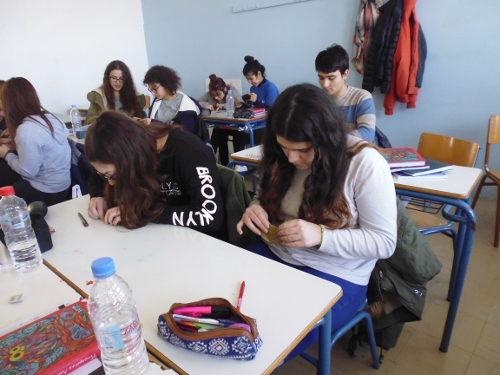
On the 31st of January 2017, my schedule was to teach my students of the B1 Class how to use compass and ruler in order to inscribe in a given circle the three basic regular polygons, namely the square, the regular hexagon and the equilateral triangle. But instead, I decided to use circular papers and origami constructions rules in a laboratory activity which would result in a final product, a mosaic.
Origami construction rules have a precision comparable to those of the "compass and ruler". For instance, if one wants to construct a diameter of a circular paper, it only needs to fold the circle in half, so that the two halves coincide (figure 2). No doubt, the crease formed is the diameter, as it is a symmetry axis of the circle. In the same way, one can construct by folding symmetrically the diagonal of a square or the perpendicular bisector of a segment and so on.
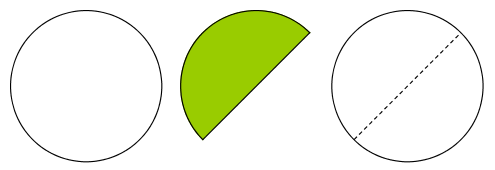
Figure 2: A precise origami construction of a diameter of a circle.
The first task was to inscribe the square. That was easy for my students and done in a second: they folded the circular paper in half and again in half and when unfold, two perpendicular diameters where formed, dividing the circle into quarters (figure 3). Folding the chords completed the task.
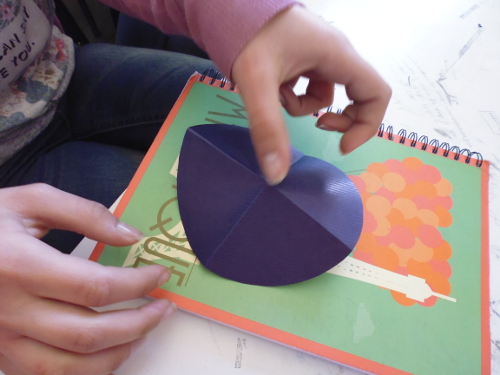

Figure 3: The construction of the inscribed square.
The second task was really demanding. How was it possible to inscribe -with precision- the regular hexagon? Consecutive folds in half, which was the first thing my students tried, resulted in a regular octagon (figure 4).
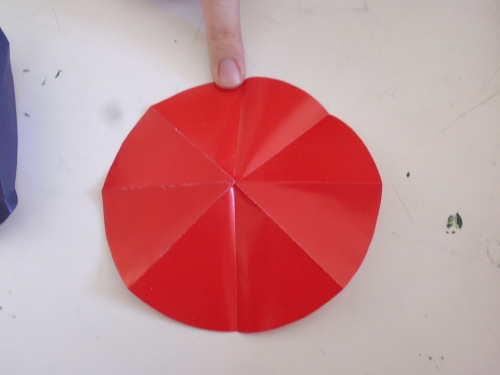
Figure 4: Consecutive folds in half devide the circle in 8 sectors instead of 6.
It took them some time until they discovered the trick: having a diameter and its middle point as the center of the circle, the next step would be to form the perpendicular bisectors of the two halves of the diameter (rays), by getting its endpoints to the center (figure 5). The four points on the circle defined thus, together with the endpoints of the diameter, are the vertices of the regular hexagon. We shall leave the reader the exercise to understand the mathematics behind the construction.
If we take every second point out of the six vertices of the regular hexagon, we get the three vertices of the equilateral triangle (figure 6).
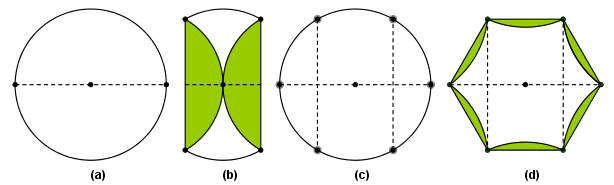
Figure 5: Inscribing a regular hexagon in a circle, with origami construction rules.
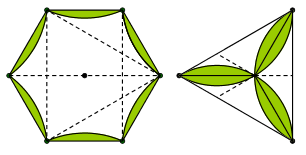
Figure 6: From the regular hexagon to the equilateral triangle.
The amazing trick was spread to all and the Class stated producing more and more of the impressive pink and green triangular tiles. There was such a massive production that not all of the tiles were used for the mosaic. But nothing was wasted. The extra tiles decorated the blackboard, the door and other spots of the classroom.
- Regular polygons and origami riddles by Irini Perissinaki
- From the circle to the regular polygons with origami, by Irini Perissinaki, published in "Euclid A", Issue 103 (2017), 9-12
This site is mastered by Irini Perissinaki iriniper[ατ]sch.gr
Background image by 123RF